6 Ways You’re Making Push-Ups Harder
Small form tweaks can turn a shaky rep into a more controlled one.
Jump to the workouts
Push-ups feel way harder than they should when small setup habits work against you. Hands creep wide, elbows wing out, and the lowering phase turns into a free fall before your trunk even gets a chance to help.
The good news is you do not need more willpower, just cleaner positions you can adjust today. These six common habits are easy to spot and simple to scale with an elevated surface and a calmer tempo.
Start here.
- Hand width, elbow angle, and trunk position change how hard each push-up rep feels.
- Slowing the lowering phase and bracing gently can make reps feel smoother.
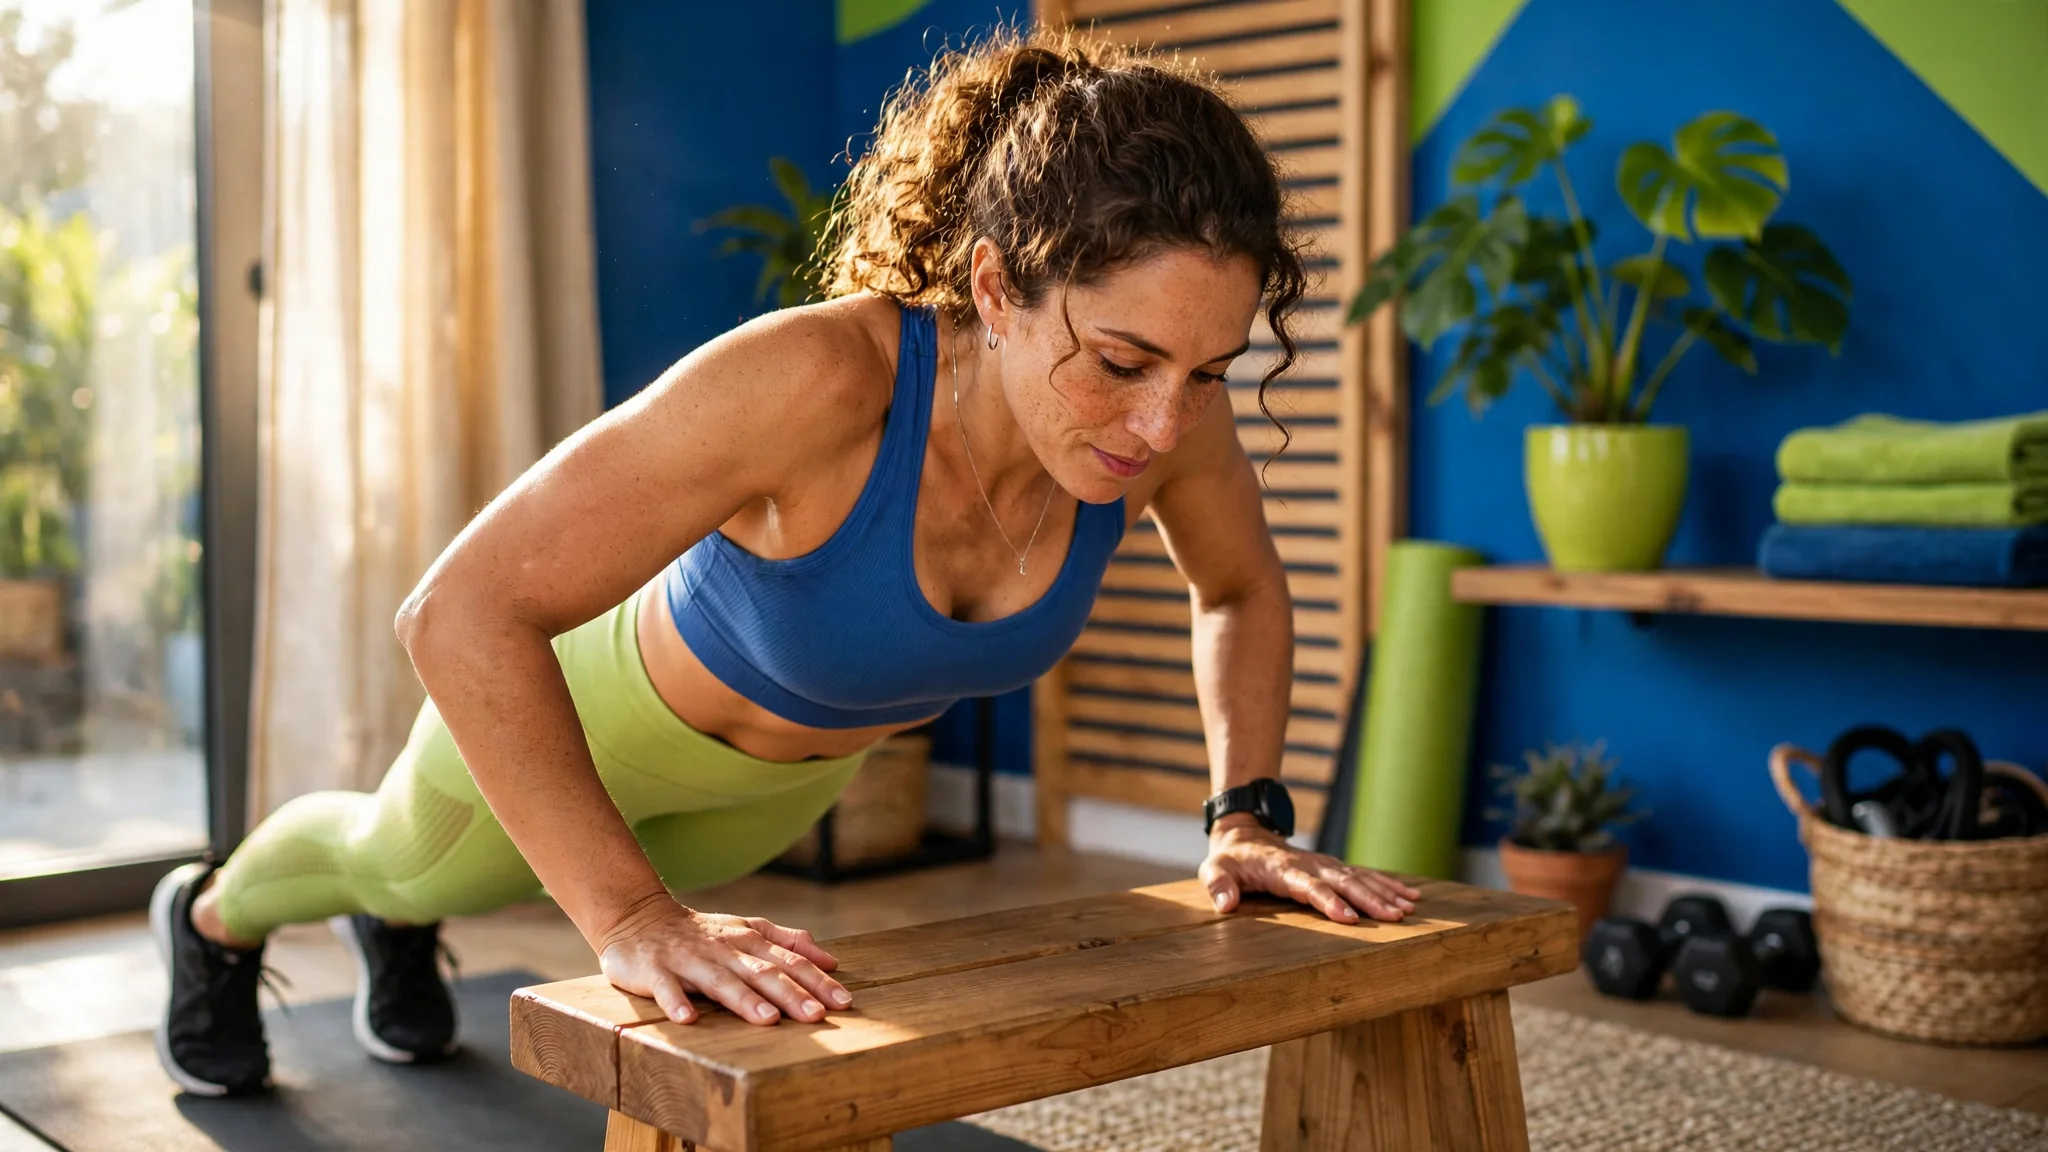
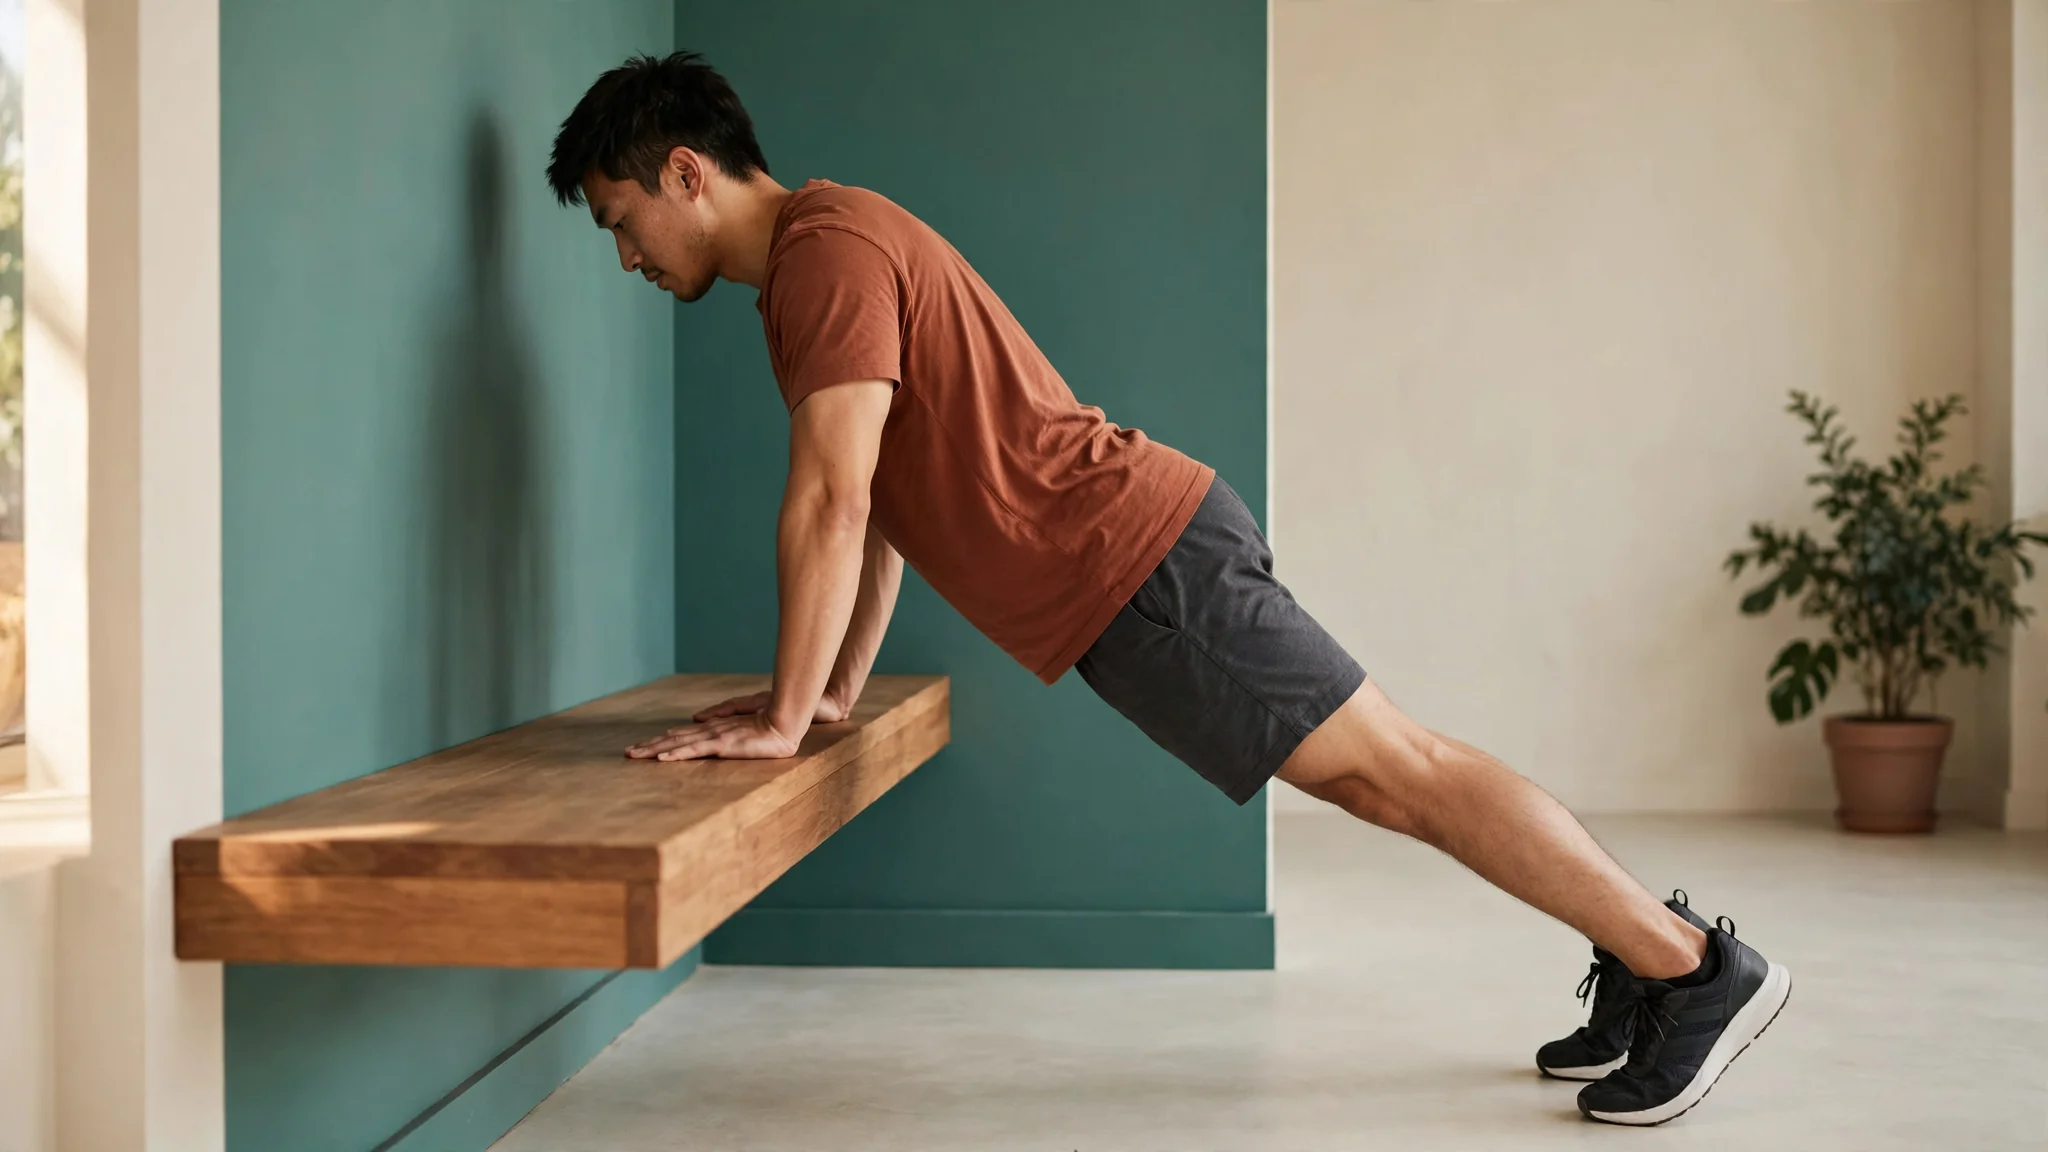
- Raising your hands to a stable surface is a smart way to practice clean form.
1. Your hands start too wide
Reaching wide can feel strong at first, but it often increases shoulder strain and shortens your pushing leverage. Many people also lose trunk control because the chest drops between the arms instead of moving as one unit.
Try stacking hands roughly under or just outside the shoulders, fingers spread, and middle finger pointing forward. Comfort varies, so choose a width that lets wrists, elbows, and shoulders feel steady without pinching.
- Reset each set: hands under outer chest, weight through full palm
- Think chest moves between hands, not hands escaping outward
- If wrists feel cranky, raise hands to a counter or bench
2. Your elbows flare straight out
Elbows flared into a hard T-shape can make the bottom feel jammed and wobbly. It also makes it tougher to use your chest, shoulders, and triceps together, so reps fatigue fast even if your muscles are ready.
Aim elbows angled back roughly 30 to 45 degrees from your torso, like an arrow rather than a T. This is a general cue, not a perfect angle for everyone, so adjust until pressing feels smooth and pain-free.
- Cue: bend elbows toward back pockets
- Keep upper back broad without rounding shoulders forward
- Stop higher if depth causes shoulder discomfort
3. You drop too fast on the way down
Rushing the lowering phase skips the strongest learning part of the rep. You hit the bottom with little control, bounce or twist, then struggle to press back up with tired shoulders and a loose midsection.
Slow down to about two to three seconds lowering, pause lightly, then press up. Practicing tempo on an incline makes control easier while you build consistency. Follow the app timing in Incline Press & Plank rather than inventing extra sets.
When you are ready to plan the next bodyweight session, SweatBud (free iPhone app) can shape workouts around your experience and available time.
- Count quietly: lower two, pause one, press one
- Keep neck long and gaze slightly ahead of hands
- End the set when speed or shape breaks down
4. Your hips sag or pike up
When hips sag, the low back takes extra work and the push becomes disconnected. When hips pike high, the range shrinks and shoulders do more than their share. Both make reps feel heavier than they need to feel.
Think head, ribs, and hips in one long line with gentle glute and belly tension. Squeeze a little, breathe normally, and reset if your back arches or your hips start bouncing between reps.
- Cue: ribs down, belt buckle slightly toward chin
- Press floor away instead of sinking into shoulders
- Shorter quality sets beat long saggy sets
5. Your base is wobbly
Feet too narrow, hands on a slippery rug, or a soft couch arm can turn every rep into a balancing act. Instability steals energy and makes shoulders and wrists work overtime just to keep you from shifting.
Use feet hip-width apart or slightly wider, toes tucked, and hands on a non-slip stable platform. A staircase step, sturdy bench, or counter works well for incline practice with solid footing.
- Check grip: dry hands, flat surface, no sliding mat
- Set feet first, then hands, then brace
- Re-check platform stability before each set
6. You skip the easier entry point
Going straight to floor reps before you can control the shape is a classic difficulty spike. Fatigue shows up early, range gets choppy, and practice feels discouraging even though strength is developing normally.
Start higher and earn lower surfaces over time. The incline options in Push-Up Starter let you practice full-body tension with knee and incline variations. Follow the app’s listed sets and reps rather than adding volume on your own.
- Begin with hands elevated 20 to 30 inches if floor reps collapse
- Lower the surface only when form stays clean
- Pair push practice with arm swings and easy mobility warm-ups
Find your next move.
Open a guide for the exercise order, instructions, sets, and rest periods. The listed times are estimates; take the rest you need.
Loading workout details…
A few good questions.
How do I know if my push-up position is right for me?
Look for steady wrists, smooth breathing, and no sharp pain. Hand width and elbow angle vary by comfort, arm length, and injury history. Use an incline, shorten the range, and stop if pain, dizziness, or chest discomfort occurs.
What should I do if floor push-ups still feel too hard?
Stay with incline or knee variations and focus on controlled lowering and a firm trunk line. Build gradually with shorter quality sets across the week. A qualified trainer or physical therapist can help personalize form if needed.
Further reading
Please consult a qualified healthcare or fitness professional before starting or changing an exercise routine, especially if you have an injury, health condition, balance concerns, or are pregnant or returning after childbirth. This article provides general education, not individualized medical advice. Choose age-appropriate activity and stop if an exercise causes pain, dizziness, or unusual symptoms.