Your first push-up starts here.
Build confidence with incline push-ups, steady practice, and progress you can feel.
Jump to the workouts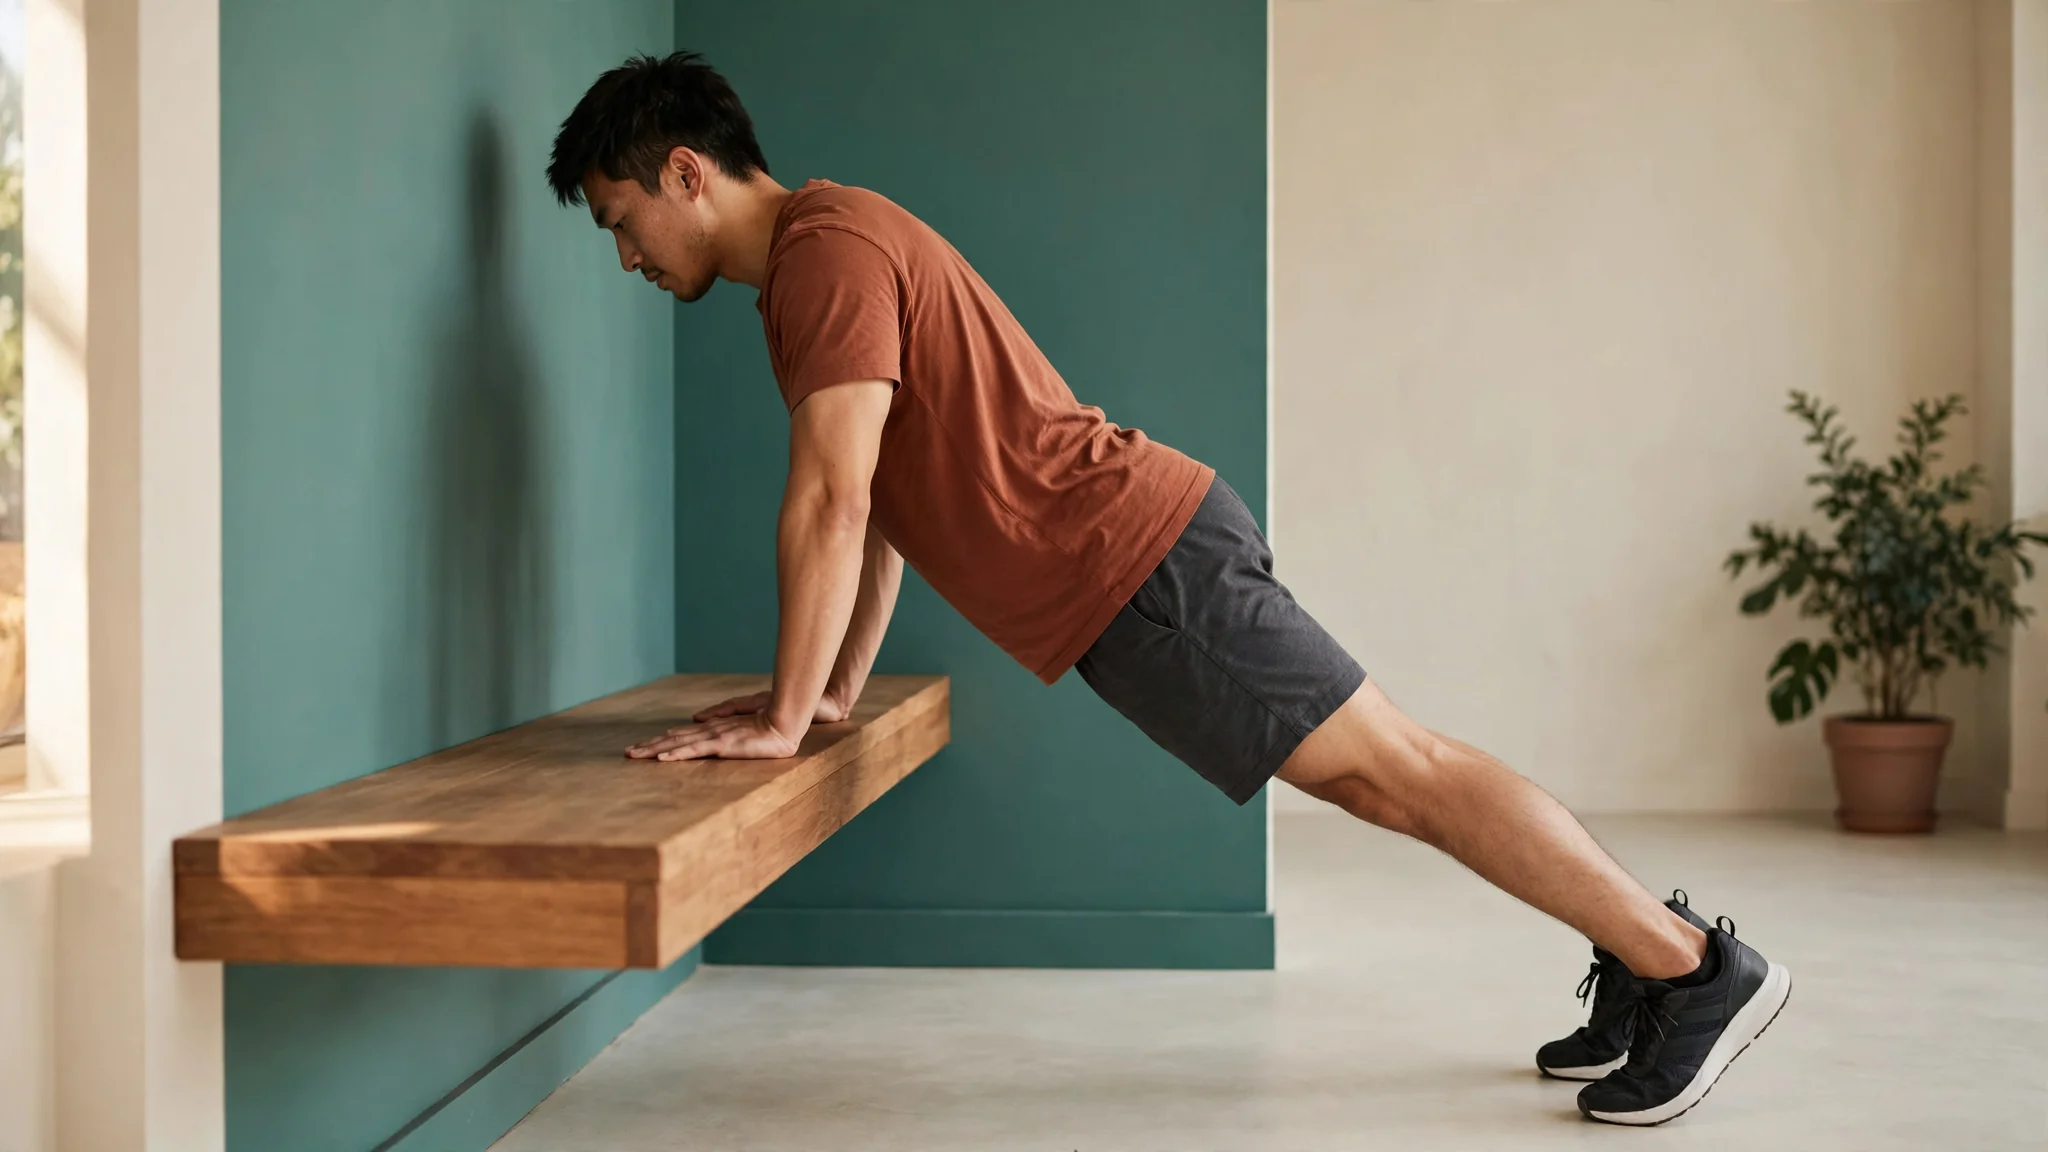
A first push-up rarely starts on the floor. Starting with your hands elevated lets your chest, shoulders, and core learn good alignment while the effort stays manageable. With a steady surface and patient reps, strength builds without strained shoulders or sagging hips.
This guide shows how to use incline height, clean reps, and simple library sessions to progress at your pace. You will learn how to check your setup, choose depth you can control, and adjust when floor moves feel too hard.
Start here.
- Use a sturdy elevated surface to practice straight-body pushing with control before spending more time on the floor.
- Choose a depth you can press back up from with steady hips and relaxed neck, then lower height gradually.
- Follow full library instructions for sets and rest, and swap or skip moves that feel too intense today.
Why An Incline Makes Learning Easier
Pushing from an incline reduces the load on your upper body while letting you practice a straight line from head to heels. That makes it easier to brace your midsection, move your shoulder blades naturally, and breathe steadily. Try opening Push-Up Starter to see how warm-up moves lead into inclined push ups and knee variations.
For a bodyweight plan that fits your experience and space, SweatBud (free iPhone app) can help shape your next workout.
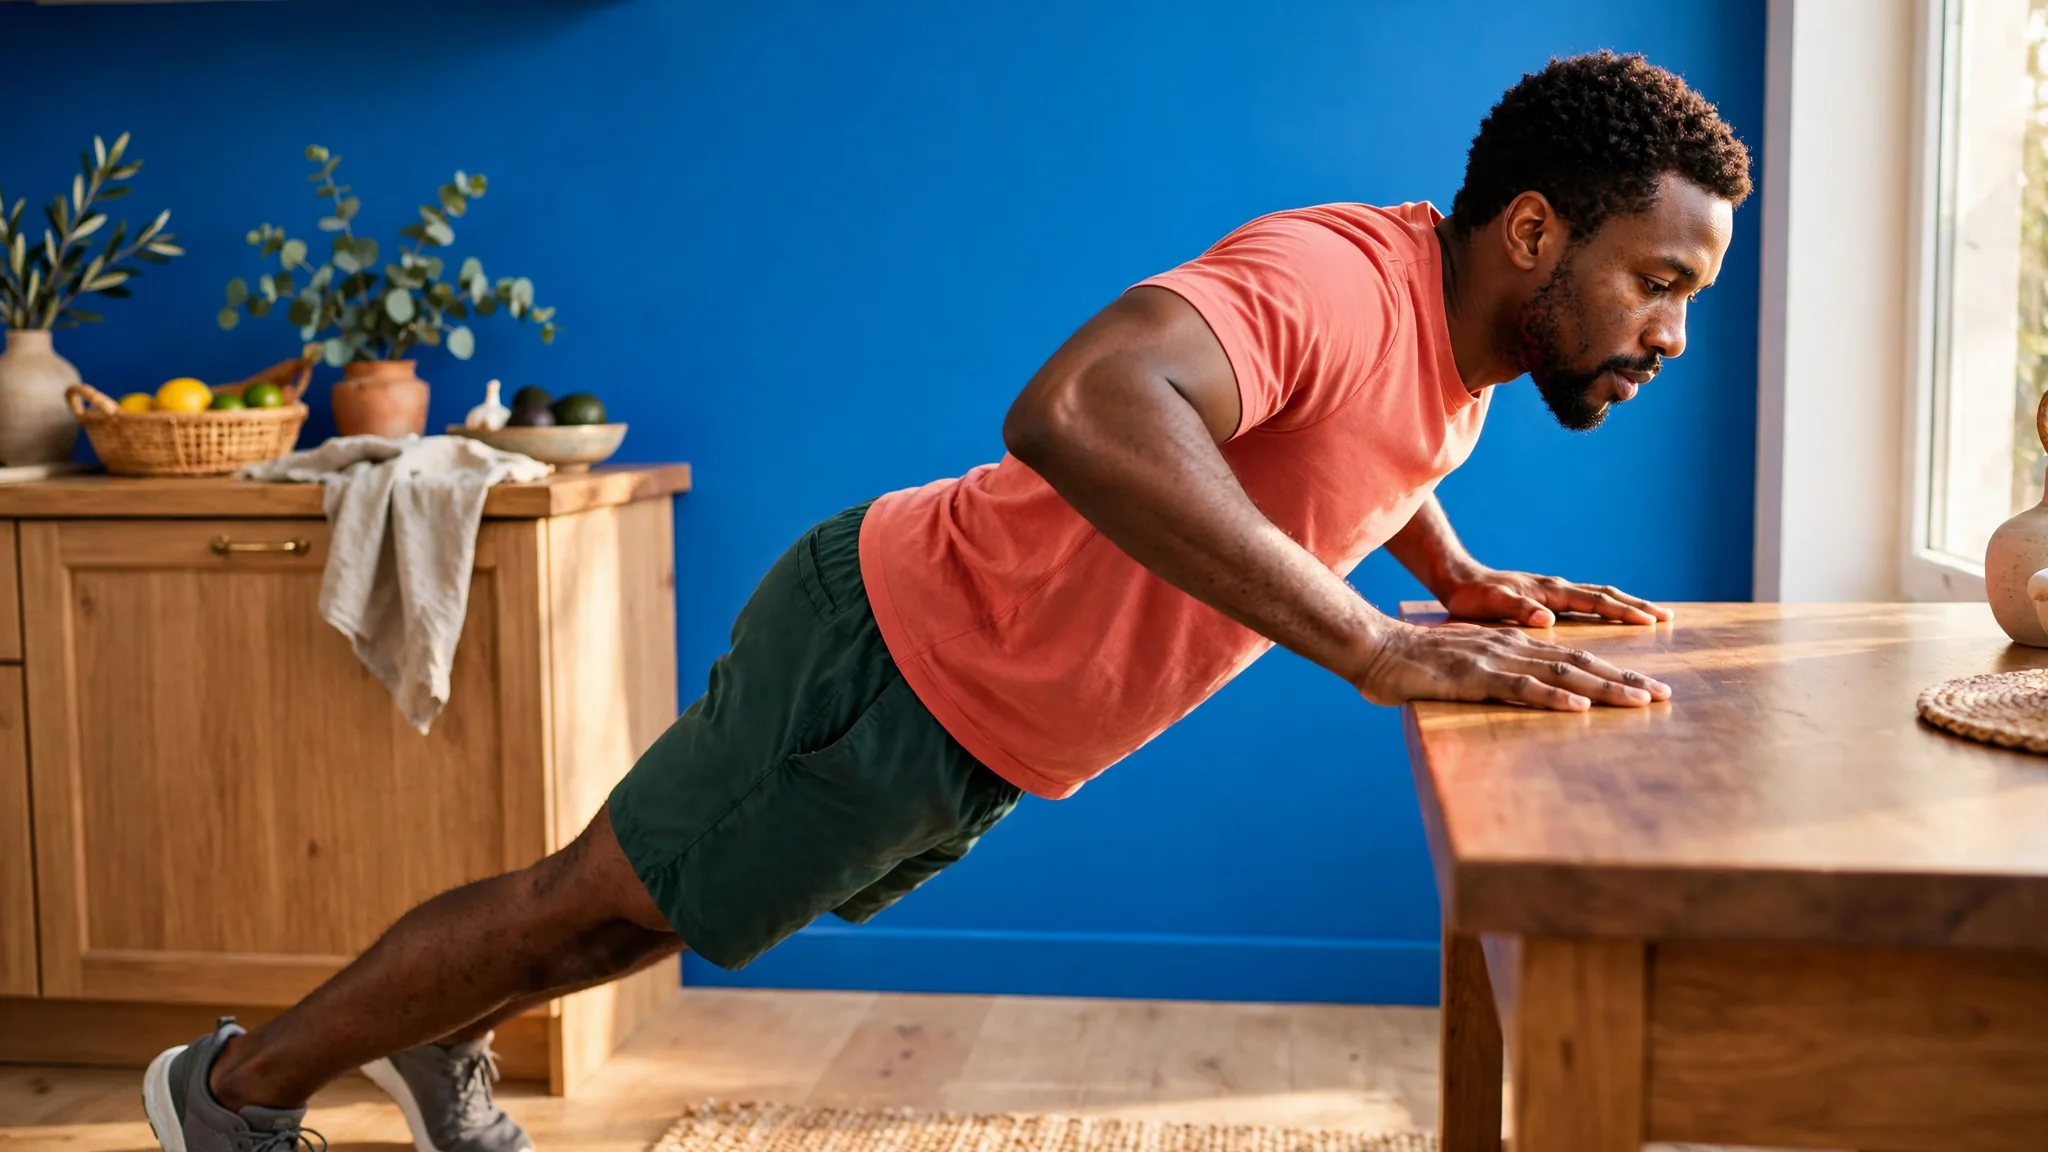
Because the angle is kinder, you can focus on control rather than survival. Lower until your chest moves toward the surface without losing back position, then press smoothly. If your lower back dips or your neck juts forward, you have likely gone too low or need a higher surface.
- Hands under shoulders with fingers spread for support
- Ribs down, glutes gently engaged, legs straight or knees down
- Slow lower, brief pause, then press without flaring elbows wide
Set Up A Stable Surface First
Your platform carries your weight, so stability comes first. Use only a stable, weight-bearing platform that is secured so it cannot slide, tip, or wobble. Test it with firm pushes before you start, clear the area around it, and wear shoes that grip.
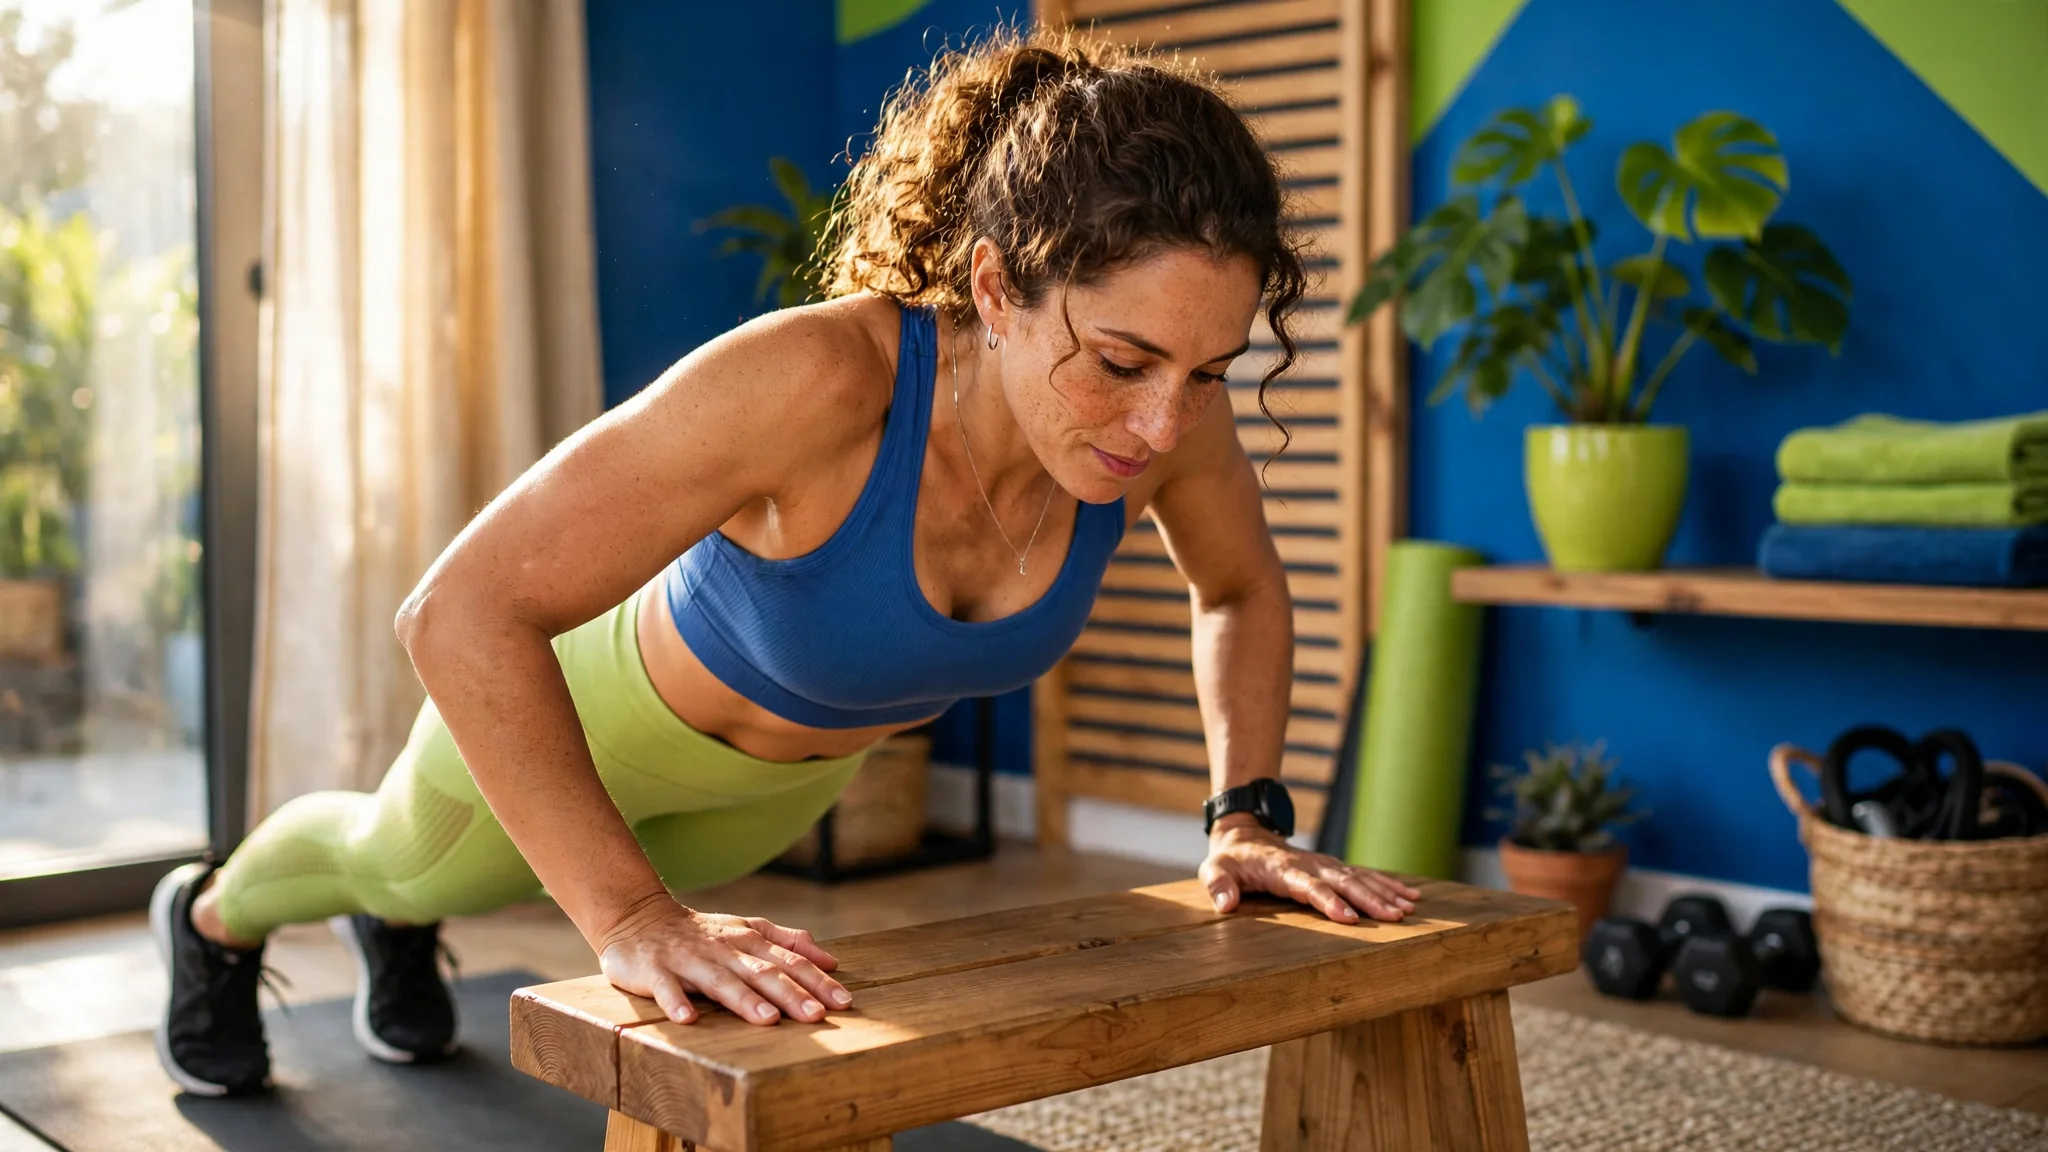
Waist height is a friendly start for many people, and higher feels easier. As control improves, move to a lower stable fixed platform that is also secured and weight-bearing. Press through your full palms to keep wrists comfortable, and keep the surface dry and clutter-free.
- Avoid chairs with wheels, narrow ledges, stacked pillows, or slick surfaces
- Leave space for your feet behind you and a clear path to step away
- If the platform shifts at all during testing, choose a heavier secured option
Choose Quality Over Depth
Think of a tall plank tilted toward the surface. Tuck your chin slightly, look toward the platform, and keep your neck long. Lower with elbows angled about 30 to 45 degrees from your torso, not straight out. Keep your midsection firm so hips and shoulders move together.
Depth is useful only if you can return from it cleanly. A shorter range with steady hips teaches more than a deep rep with sagging. Stop the set when speed drops, shoulders shrug toward ears, or your back arches, then rest and reset.
- Good rep feels smooth, quiet, and even on both sides
- Pause signal: hips drop, elbows flare sharply, or neck strains
- Breathe in on the way down and breathe out as you press
Use Guided Sessions To Practice
For a structured start, open the full instructions for Incline Press & Plank and follow the listed warm-up, work intervals, and stretches. It pairs inclined push ups with planks on hands and upper-back work, which supports posture and trunk endurance for pushing.
Note that this session includes floor planks on hands, which can feel demanding for beginners. Shorten the hold, drop knees to the floor, or rest in a child pose stretch and rejoin the next interval. Similarly, Push-Up Starter includes jumping jacks plus knee and reverse push ups, so march in place if jumping feels uncomfortable.
- Read the prescription for sets and timing before you begin
- Warm up shoulders fully with arm swings and circles
- Finish with the cooldown listed for the workout you selected
Progress Without A Deadline
There is no fixed number of days to a floor push-up. A practical path is to master solid reps at one height, then lower the surface by a few inches and rebuild control. Many people alternate incline sets with knee push ups for variety while keeping form clean.
Track what actually changed, such as lower surface, extra clean reps, or less rest needed. When you can do smooth incline reps and brief floor planks confidently, explore Push-Up Starter again at a lower incline to compare control and comfort.
- Stay at a height for several sessions until reps feel steady
- Change one variable at a time: height, reps, or rest
- Keep one easier session each week for technique practice
Troubleshoot Common Sticking Points
Small form tweaks often help your sets feel smoother. Check even pressure through your palms, elbows angled back rather than wide, and hips in line with shoulders. Shorten the range, raise the surface, take extra rest, or finish the set on your knees.
Stop any rep that causes pain and skip variations that do not feel right today. For recurring shoulder or wrist symptoms, seek qualified assessment. Everyone starts from a different place, and using a higher incline with shorter sets is a normal way to build confidence.
- Wall incline: lightest load and easiest balance
- Counter or table: moderate challenge with good control
- Low bench or step: greater load, keep reps fewer and cleaner
Find your next move.
Open a guide for the exercise order, instructions, sets, and rest periods. The listed times are estimates; take the rest you need.
Loading workout details…
A few good questions.
How high should my surface be?
Start where you can do slow, steady reps with a straight trunk and relaxed neck, often around waist height. If hips sag or shoulders shrug, raise the surface. Lower it gradually once your current height feels controlled and repeatable.
What if floor knee push ups or planks feel too hard?
Stay longer on the incline, which is a complete training option on its own. For floor work, shorten holds, rest on knees, or pause and rejoin the next interval. Choose the variation that lets you breathe steadily and finish with good alignment.
Further reading
Please consult a qualified healthcare or fitness professional before starting or changing an exercise routine, especially if you have an injury, health condition, balance concerns, or are pregnant or returning after childbirth. This article provides general education, not individualized medical advice. Choose age-appropriate activity and stop if an exercise causes pain, dizziness, or unusual symptoms.